skip to main |
skip to sidebar
I've noticed lots of people have already updated their links and blog feeds, so great job!
For all the rest...
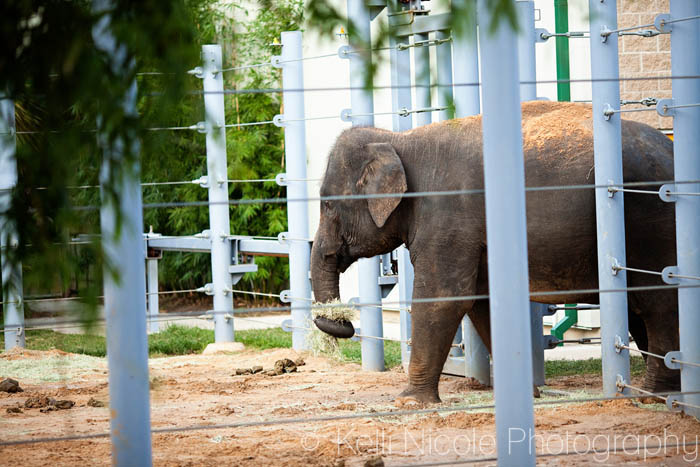
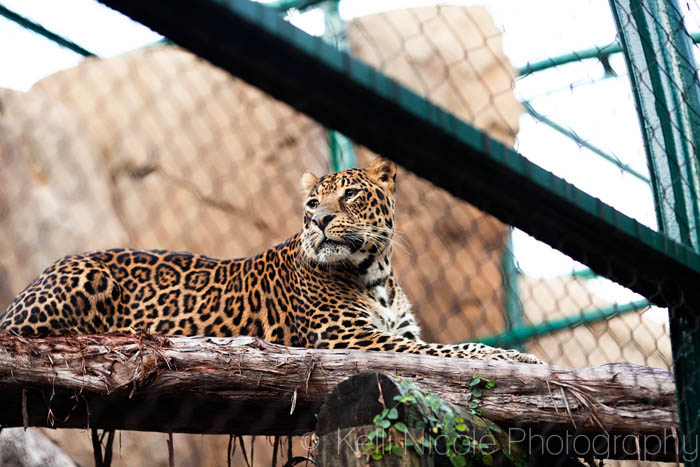
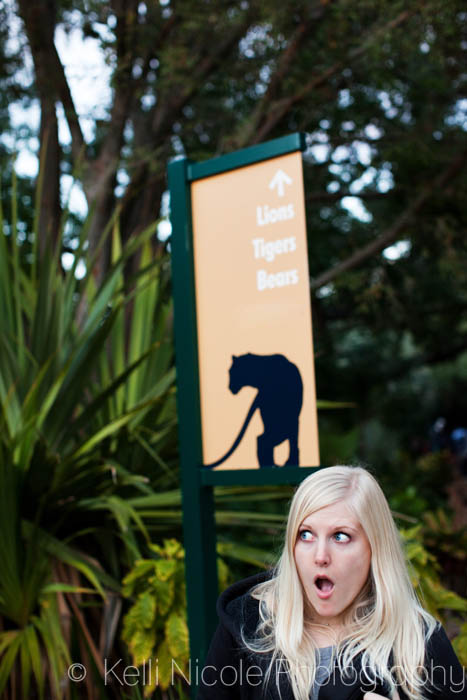
You don't want to miss all the awesome new posts this week! Check it out!
Two new things today!
First, I have a new logo! Once upon a time I discovered an amazing graphic artist, but was a poor college student and couldn't afford much more than Ramen. Fortunately, a few things have changed and I was recently able to use Angie Panian to redesign my logo. Exciting! Check out her site, she does great work!

Second, the thing I'm MOST excited about, is my new blog ( kellinicolephotography.com/blog)! Click HERE to see it. Or here. Please update your bookmarks, favorites, google reader or whatever other technology you might use. Check back often for updates to information about my photography (and my life).
It's still a bit of a work in progress, but I'm excited have you try it out! My new site/blog will serve to address (hopefully) all your questions. Don't Panic - all my information will be on there, such as pricing and product photos, and lots of new fun stuff like faq's and the ability to subscribe to comments on a certain post. If you notice anything weird or out of place let me know and I'll work to get it fixed. In addition, I hope to add more features and content to my new blog. I hope you love it like I do!
Again, remember, update your blog feeds and bookmarks to kellinicolephotography.com/blog and let me know what you think! Enjoy!
PS: There's a new post with some awesome pictures of a stunning couple in LA! Don't miss it :)
PPS: All the new awesomeness will work best if your browser is updated. So in firefox go to help -- check for updates (if I knew how to do it in anything else I'd help you out too).
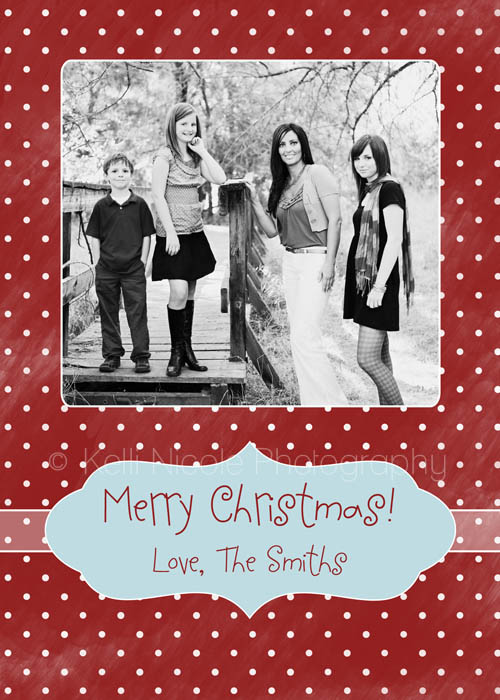
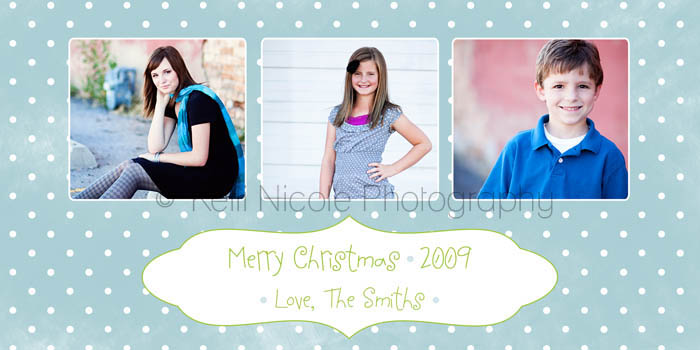
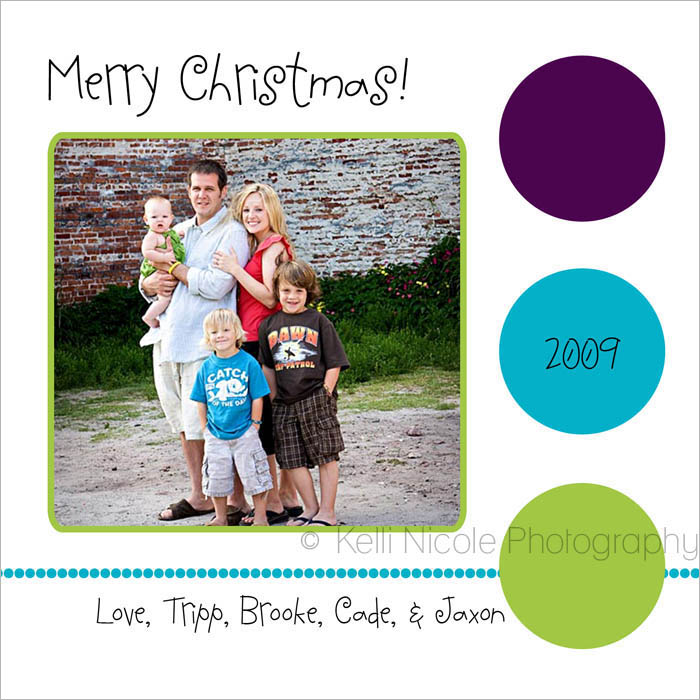
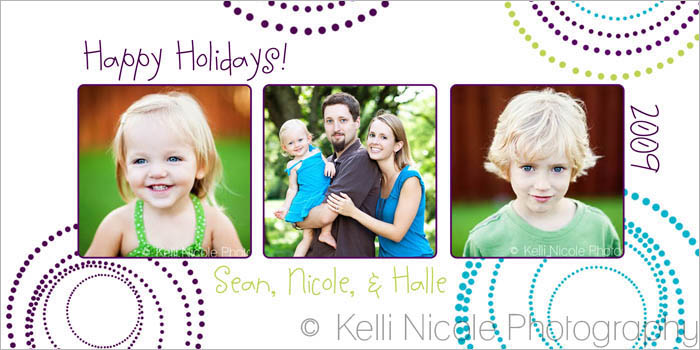
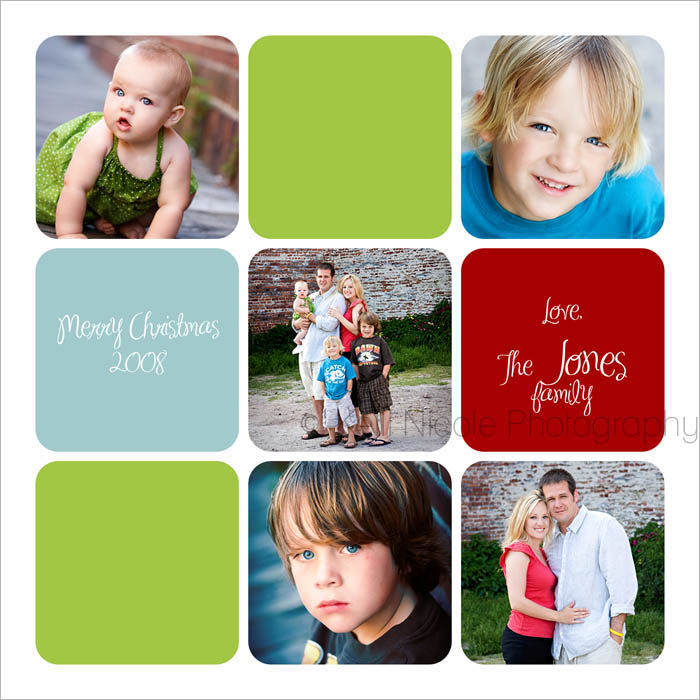
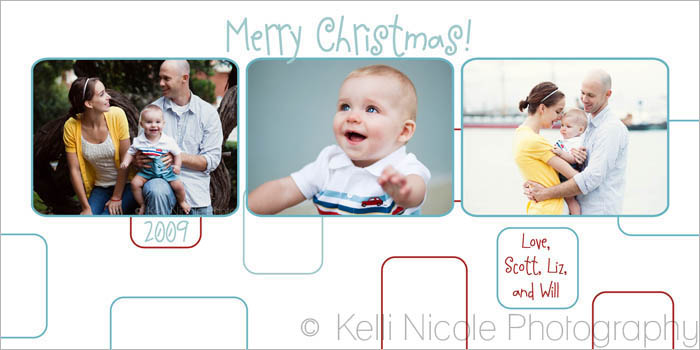
Some cute Christmas cards I designed this weekend~

Okay, I know, I'm finally getting around to doing this! The more questions I get, the more often I'll try to do things like this :). Let me know what you think! Oh, there IS one thing, I want to make sure it's okay for me to use your first name if you asked a question, so this time I'll keep it anonymous. Let me know in the future!First up, what type of camera do you use? I have two camera bodies that I take shooting, one as a main body and one as a back-up. I've been to two weddings where one of my cameras failed for no apparent reason (one right in the middle of the cake-cutting) so it is so absolutely necessary to bring back-up gear with you to important events! My main body is the Canon 5D Mark II and my back-up is my "old" Canon 40D. If you have specific questions about what camera YOU should get, email me. While I've always been a Canon shooter I have no qualms recommending a Nikon or Canon camera, both are great options and have different strengths and weaknesses.
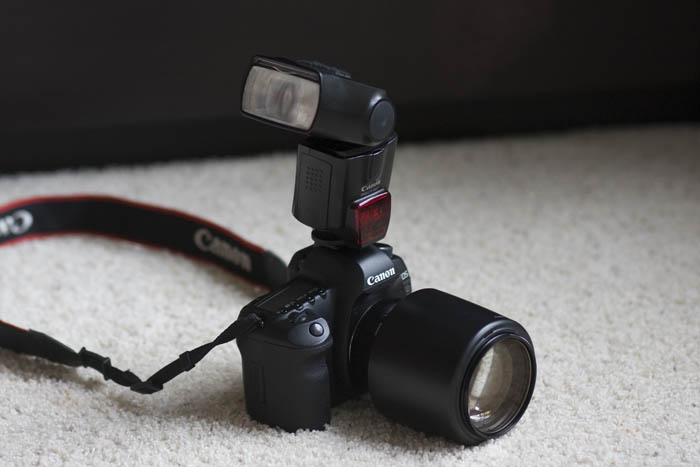
Do you save the RAW file and the final version? And how are you organizing your backup? When I upload pictures from a shoot they immediately go into a program called Adobe Lightroom. All my files start out as RAW images and are .CR2's instead of .JPEG's (ie image_0001.CR2). When I upload to Lightroom they all get converted to .DNG files. DNG's are like a universal lossless compact RAW file. In 10 years Photoshop and other programs probably won't carry support for the type of file that my current camera shoots, but it will always support a DNG file. I always delete the CR2 files and save the DNG's. I don't save JPEG's as I can easily export them later, but I do save any JPEG's that I've edited and retouched. I organize all my pictures by year and month and I'm lucky enough to have my own built-in IT guy who made me a server for back-up. I didn't even ask. In my actual desktop I have two 1-TB drives (one that backs-up automatically) and then I transfer to the server in a separate location for additional back-up. Before this system I owned about 13 external hard drives (I still have most of those actually...) and I just made sure I had at least two copies of everything.I have my Mom's nice camera...is there a setting that's best for doing indoor shots? Either I don't use the flash and my pictures are blurry, or I end up using it, and then they look, well, like I've flashed a bright light at my kids right before taking the picture (not good). ...what would be your advice for getting good shots indoors? For instance, my two boys were snuggling with each other in bed tonight, and I wanted to get a cute picture of them, but there's not much lighting in that room, what would you have done? It sounds like you have a dSLR? This is a bit of a tricky question, as every indoor setting will be different and there are several things that could be done, based on the equipment you own. The first thing, however, is to take it off of auto so you can be in control. In a dark situation without flash you'll first need to raise the ISO. Check your manual (you should be able to find them online) if you don't know where these buttons are! The higher the ISO the more "noisy" or "grainy" the picture will look, but it's better than blurry. There should be a few different semi-manual settings, two of which are called AV and TV (on Canon, A or S on Nikon I believe). AV lets you choose the aperture and the camera chooses the shutter speed, while TV (or S) lets you choose the shutter speed and the camera chooses the aperture. In this situation you would want to choose the shutter speed. The rule of thumb for choosing a shutter speed that results in a sharp picture is to take the length of the lens and stick it in the denominator of a 1/X fraction. SO, if you have a lens that is 100mm you would try to keep the shutter speed at 1/100th second or faster. You can experiment to see what you're able to hand-hold. I once hand-held a 200mm lens at 1/15th sec, but I had to be super steady! I typically don't shoot below 1/200th sec if I can help it. As far as using the flash, the best option is to get a flash that doesn't pop-up from the camera.
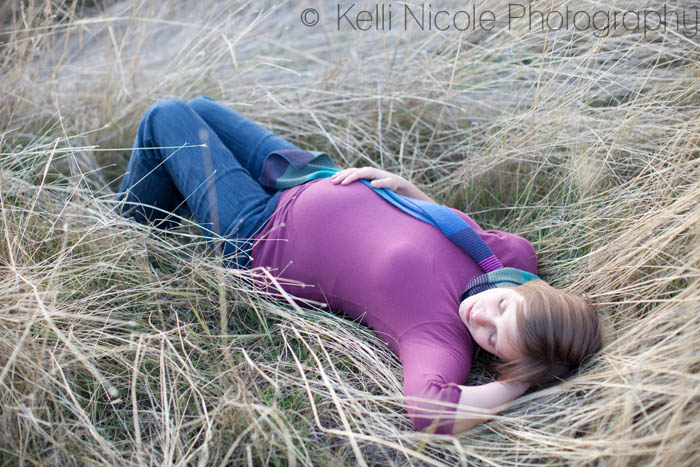
This is what I would do in your situation: Take a flash that sits on top of the camera and point it either to the ceiling or a wall (as long as the wall is a neutral light color like white, grey, or even light yellow). The flash will bounce off of the wall and land softly and nicely on your children :). When you use a flash the shutter speed rule doesn't typically apply. You can use longer shutter speeds if you have a flash. This is an example of a picture where it was too dark inside and I bounced my flash off a wall: 
This is how the flash will look:
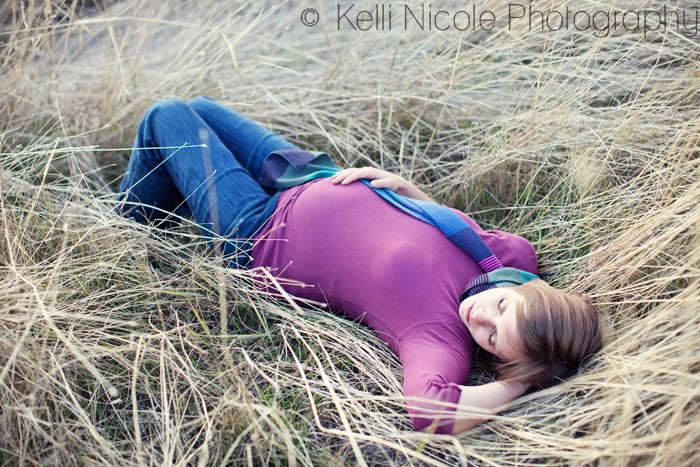
 Or like this: Or like this:

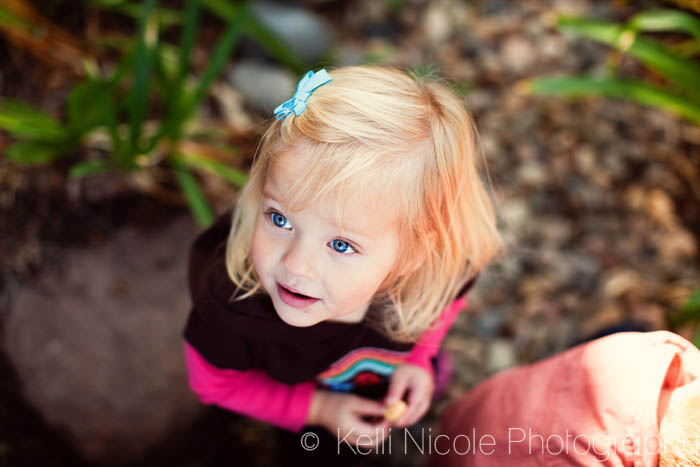
What actions do you use? I nearly exclusively use Totally Rad Actions. The only exception to that rule are actions that I made myself. When I'm editing a picture I'll generally create anywhere from 5 to 20 different layers with somewhere around 3 to 8 different actions used. I alter the opacity of different actions and layers. Some good actions if you can't afford it or don't want to spend the money are Pioneer Woman's actions. I highly recommend downloading them! Here's one example of one of my pictures before and after action use:
(this one is SOOC - Straight out of Camera)  Actions used: Lux (soft) at 60%, Oh Snap! at 46%, Yin (from Yin/Yang) on select areas at a low opacity, Green With Envy on select areas at a low opacity, one of my own that just affects some color toning, Antique Tone at 30%, and Select-O-Sharp on select areas at different opacities. Actions used: Lux (soft) at 60%, Oh Snap! at 46%, Yin (from Yin/Yang) on select areas at a low opacity, Green With Envy on select areas at a low opacity, one of my own that just affects some color toning, Antique Tone at 30%, and Select-O-Sharp on select areas at different opacities.  I know there's not a huge difference (and I think it's even less noticeable on the blog), but I don't like to over-process. Every picture on this blog has been edited in photoshop, most of them with TRA. Let me know if you'd like to see more examples! I know there's not a huge difference (and I think it's even less noticeable on the blog), but I don't like to over-process. Every picture on this blog has been edited in photoshop, most of them with TRA. Let me know if you'd like to see more examples!
What I was bummed about in my photos was the sun. In some of the photos the faces turned out too dark or too light. Maybe you can spend some time on the proper usage of light. I could talk about light all day! I will probably come back to this at a later time and discuss it more, but I'll touch on it lightly today. The most important thing is to take your camera off of the auto-mode (it looks like you use a Nikon so I don't know exactly what your camera looks like, but it will probably be on the dial on the top left of your camera). From your description it sounds like some of your pictures were back-lit (the sun was behind them) and in others the sun was probably directly on them, making them too light. In these situations it's important to make sure you expose (your use of putting together the aperture and the shutter speed) for their faces and not the whole scene. You can do this by shooting on manual and choosing both the aperture and the shutter speed based on what your light meter tells you. I'm only going to touch on one way to fix this for now. The section I marked below "Light Meter/Exposure compensation" is very useful for manual or semi-manual (AV, TV, or P on Canon; A, S, or P on Nikon). As I said above, AV (A) lets you choose the aperture, TV (S) lets you choose the shutter speed, and P (program) is basically an auto-mode, but lest you use some of the other features on the camera (oh, and M is for completely manual).  If your subject is back-lit by the sun and you're in one of the semi-manual modes you can use the exposure compensation to your advantage. When the little line is in the middle (it goes from -2 to +2) it basically means it's properly exposed according to the camera. By dialing it up to +1 or so, the faces will be lighter and by dialing it down to -1 they'll be darker. On my camera I dial it up by using the wheel on the back after pressing the third button on the top. The picture below is a good example. If I had let the camera do all the thinking the couple would be really dark and the background would look properly exposed. But I did it the way I wanted to do things and I don't care that the background isn't exposed correctly because the people are. If your subject is back-lit by the sun and you're in one of the semi-manual modes you can use the exposure compensation to your advantage. When the little line is in the middle (it goes from -2 to +2) it basically means it's properly exposed according to the camera. By dialing it up to +1 or so, the faces will be lighter and by dialing it down to -1 they'll be darker. On my camera I dial it up by using the wheel on the back after pressing the third button on the top. The picture below is a good example. If I had let the camera do all the thinking the couple would be really dark and the background would look properly exposed. But I did it the way I wanted to do things and I don't care that the background isn't exposed correctly because the people are.  I have some more questions to answer, but I just realized how long this is getting! I'm sure I bored most of you to death, so I'll try to get better at being more concise! I have some more questions to answer, but I just realized how long this is getting! I'm sure I bored most of you to death, so I'll try to get better at being more concise!
|